
Learn how to build and integrate powerful Smart Building and BMS projects, Access hardware documentation, feature support, tutorials, and more. Created by multi-BCIA Award-winners.
Categories
HowTo: Setup a Milesight UG LoRaWAN Gateway
This guide provides detailed instructions on configuring packet forwarding and network server settings for your Milesight Gateway. Whether you’re setting up a new gateway or fine-tuning existing configurations
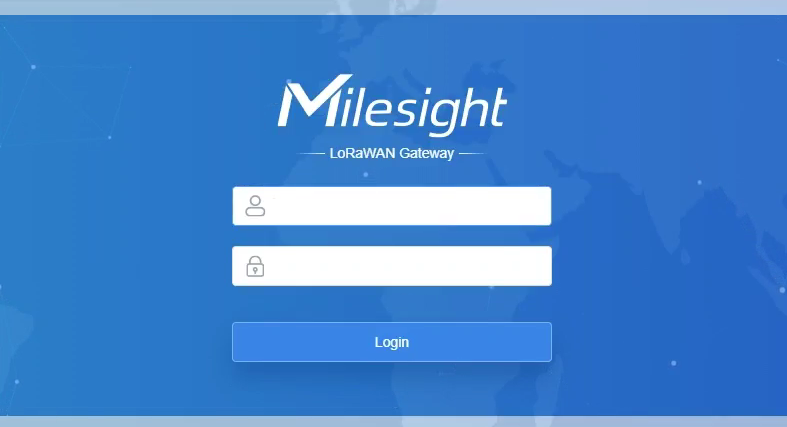
Step 1: Accessing the Gateway
Begin by accessing the Milesight gateway using its IP address and admin password.
Upon login, you’ll be directed to the default screen displaying important information like model number, serial number, and IP address.

Step 2: Packet Forwarding Configuration
Navigate to the packet forwarding section.
You’ll find options for packet forwarding, such as embedded network server and Chirp stack for MQTT messaging.
Configure packet forwarding settings according to your requirements.
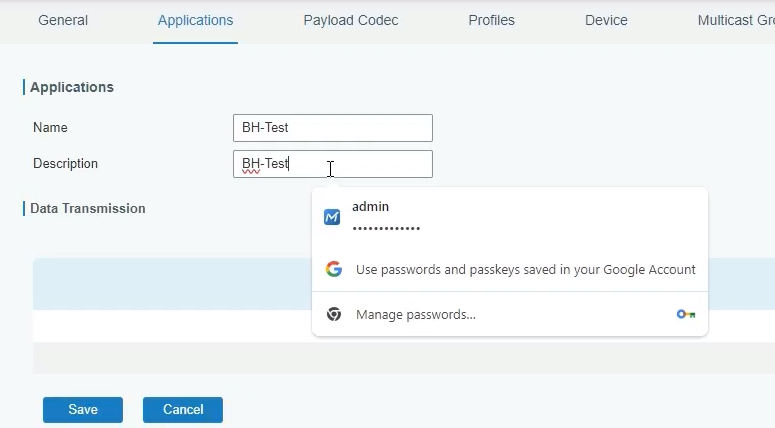
Step 3: Network Server Configuration

Choose the authentication method.
Set the application ID and application key, ensuring they match the toolkit settings.
Select the appropriate codec.
Save and apply the settings.
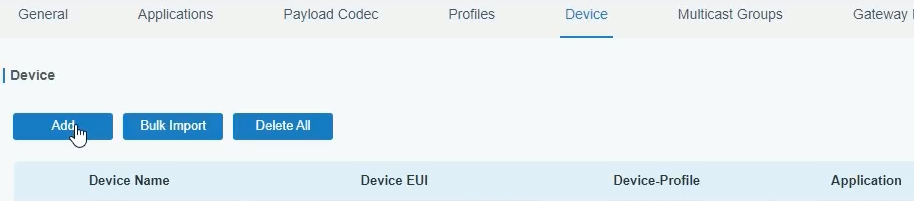
Step 4: Sensor Integration
Access the sensors section to view connected devices.
Identify sensors and their configurations, such as CT sensors.
Review packet details to ensure data transmission.
Step 5: Protocol Integration
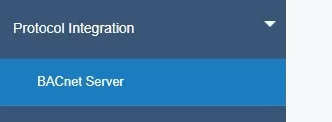
Navigate to protocol integration settings.
Enable the BACnet server and verify port and device ID settings.
Add objects for sensor integration, specifying the LoRa object copied from packet details.
Save and apply the settings.
Step 6: Device Management
Review connected devices and their data points.
Subscribe to relevant data points for testing.
Confirm data transmission and visualize on graphs for verification.
Step 7: Final Checks

Ensure all configurations are saved and applied.
Verify data transmission and sensor functionality.
Congratulations! Your Milesight Gateway is now set up and ready to use.
Conclusion:
Setting up a Milesight Gateway involves accessing the gateway, configuring packet forwarding and network server settings, integrating sensors, and verifying data transmission. With these steps, you can efficiently deploy and manage your gateway for various applications.
Video tutorials on our YouTube channel
Check out our LoRaWAN Survey kit
For further information contact support@onesight.solutions.


Popular Support Guides

Popular Support Videos on One SightTV


Tridium Niagara 4 Video Training


Access the Industry’s Best Technical Support
Unlock Exclusive Benefits with our Niagara Partner Program including Priority Tech Support
![]()
![]() Priority Technical Support with the Diamond Tier of our Partner Program
Priority Technical Support with the Diamond Tier of our Partner Program
![]()
![]() The widest range of Niagara Portability Products on the market, all in one place
The widest range of Niagara Portability Products on the market, all in one place
![]()
![]() Up to 5x Free Training Days for your organisation from our multi-award winning course offerings
Up to 5x Free Training Days for your organisation from our multi-award winning course offerings
![]()
![]() Unlimited access to all of our OSS Niagara 4 Drivers for Project use with our Diamond Tier
Unlimited access to all of our OSS Niagara 4 Drivers for Project use with our Diamond Tier


 Supercharge your Niagara 4 Projects with OSS Drivers
Access all 11x of our OSS Niagara 4 Drivers for Free on your Demo Station
![]()
![]() ossEasyAPI: Integrate unlimited API’s into Niagara 4
ossEasyAPI: Integrate unlimited API’s into Niagara 4
![]()
![]() ossEasyHistoryExport: Quickly export your Niagara 4 meter data into a CSV
ossEasyHistoryExport: Quickly export your Niagara 4 meter data into a CSV
![]()
![]() ossFTP: Push files or folders from Niagara to a FTP/SFTP server
ossFTP: Push files or folders from Niagara to a FTP/SFTP server
![]()
![]() ossStationBackup: Automate scheduled backups of your Niagara Supervisor station
ossStationBackup: Automate scheduled backups of your Niagara Supervisor station
![]()
![]() ossEasyMQTT: Interface with any MQTT Broker with no point limitations
ossEasyMQTT: Interface with any MQTT Broker with no point limitations
![]()
![]() ossRestAPIServer: Provides a HTTP REST API Server running on Niagara 4
ossRestAPIServer: Provides a HTTP REST API Server running on Niagara 4
![]()
![]() ossChirpManager: Seamless integration between a Chirpstack and Niagara system
ossChirpManager: Seamless integration between a Chirpstack and Niagara system
![]()
![]() ossBatchFacets: Easily search, filter and multi-select points for bulk facet changes
ossBatchFacets: Easily search, filter and multi-select points for bulk facet changes
![]()
![]() ossTeltonikaSMS: Receive SMS Niagara alarms via a Teltonika router
ossTeltonikaSMS: Receive SMS Niagara alarms via a Teltonika router
![]()
![]() ossWebhook: Configure unlimited webhook points that receive data from parties
ossWebhook: Configure unlimited webhook points that receive data from parties
![]()
![]() ossTeamsTools: Push your Niagara alarms to any Microsoft Teams channel
ossTeamsTools: Push your Niagara alarms to any Microsoft Teams channel

Niagara BMS Graphics made Easy with ossGraphicsLibrary
1857 High Quality BMS SVG’s, with seamless drag-n-drop Design for Rapid Configuration
![]()
![]() 1857 Universal SVG Assets: State-of-the-art, cross-compatible assets delivering consistant quality at any scale
1857 Universal SVG Assets: State-of-the-art, cross-compatible assets delivering consistant quality at any scale
![]()
![]() 240+ Animated Assets: Including motion sequences and dynamic real-time data responses
240+ Animated Assets: Including motion sequences and dynamic real-time data responses
![]()
![]() Building with Ease: Simple drag-n-drop elements, with seamless snap building and alignment across all assets
Building with Ease: Simple drag-n-drop elements, with seamless snap building and alignment across all assets
![]()
![]() Pre-configured Templates: Over 125 pre-made and configurable templates, saving you up to 25% engineering time
Pre-configured Templates: Over 125 pre-made and configurable templates, saving you up to 25% engineering time
![]()
![]() Flexible Licensing: Available to purchase and license per device, or supervisor, giving you bespoke scalability
Flexible Licensing: Available to purchase and license per device, or supervisor, giving you bespoke scalability
![]()
![]() Compatible with any Niagara-based System: Including Tridium, Trend, Honeywell, CentraLine, Distech, & Johnson
Compatible with any Niagara-based System: Including Tridium, Trend, Honeywell, CentraLine, Distech, & Johnson
![]()
![]() Standardised & Exquisite UI: Delivering a standardised visual across all pages, easily accessible to users & clients
Standardised & Exquisite UI: Delivering a standardised visual across all pages, easily accessible to users & clients
Explore the full range of Assets and Watch the Video